Let's figure out how buttons work in Swift. Learning Swift, you'll find there's many different ways to do the same thing, and this is absolutely the case with buttons, which can get confusing. I'm going to show you a good standard way to create functional buttons that will work in any application and help you build apps fast.
The following Swift code defines the button functionality (top), and label or front-end representation of the button (bottom).
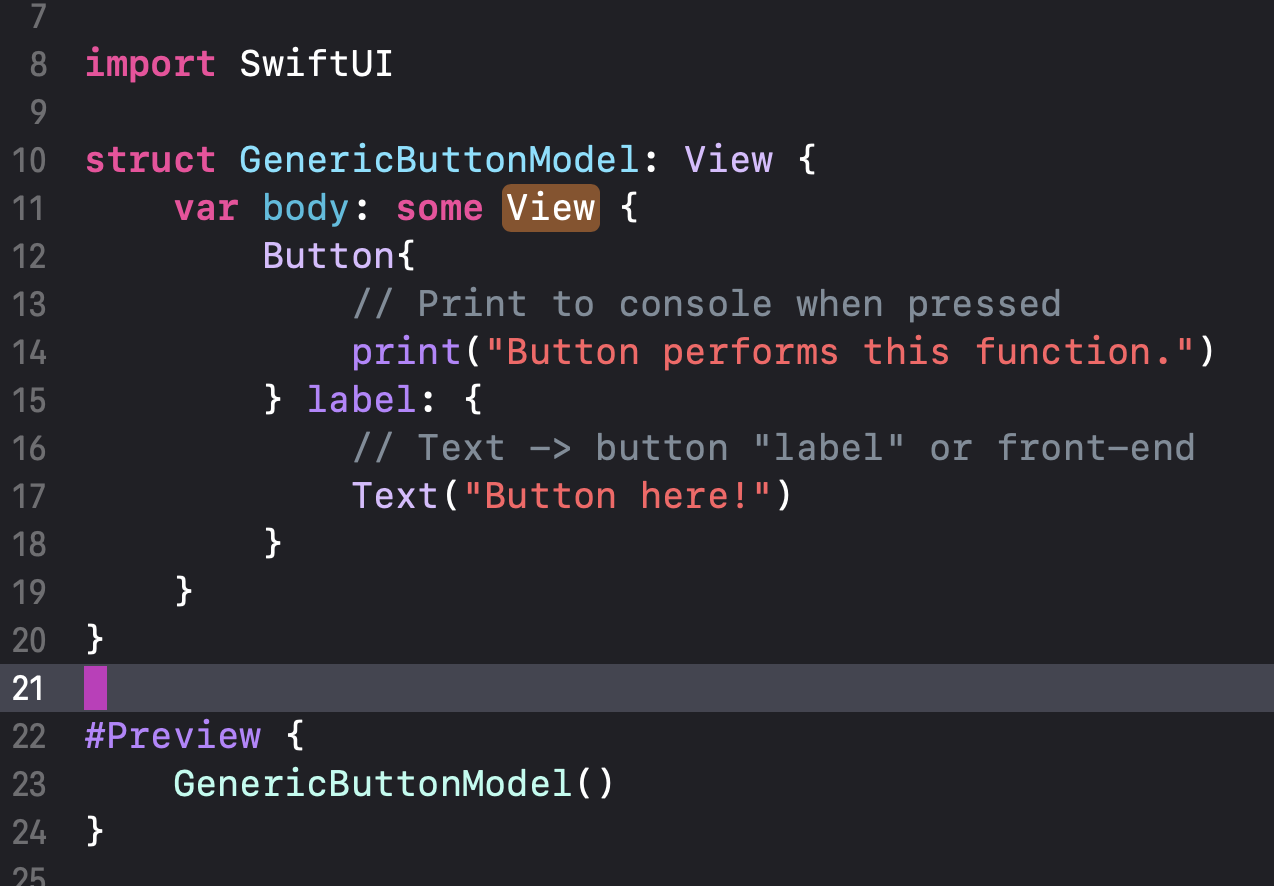
As you can see, this button/label syntax is very readable and easy to use. XCode does not usually autocomplete to this syntax however, so do be aware. The code produces this button on the page:

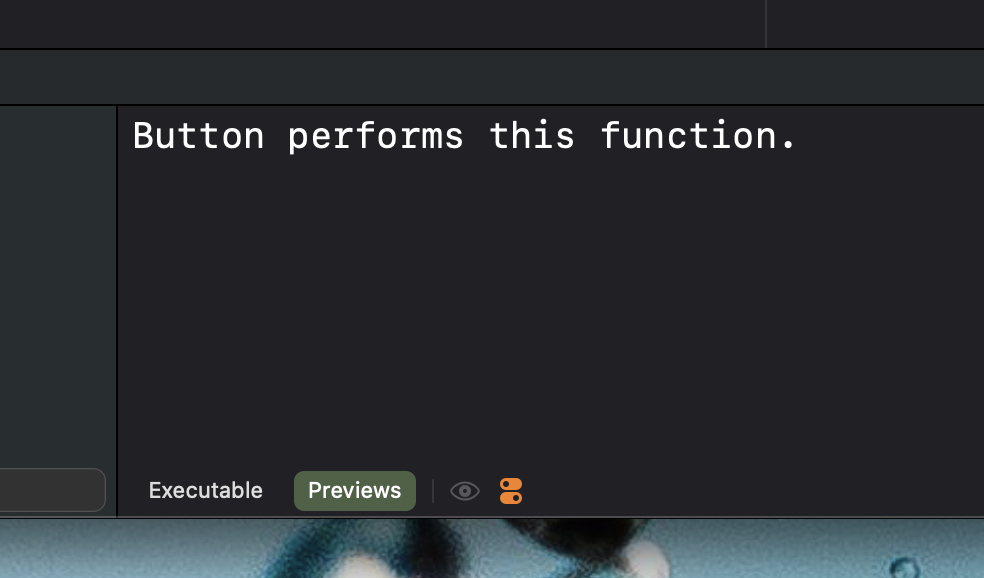
Now if we click the button as defined, this output is found in the terminal:
We can also change the label to something else like an image..
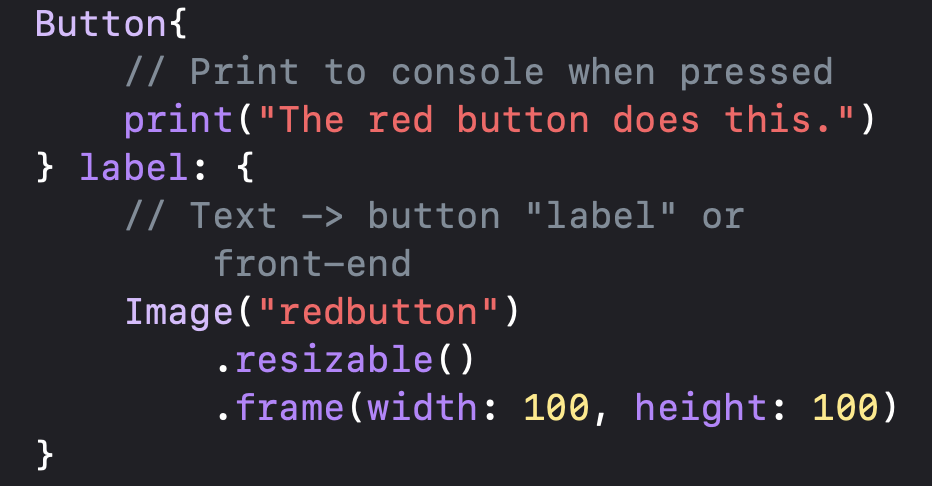
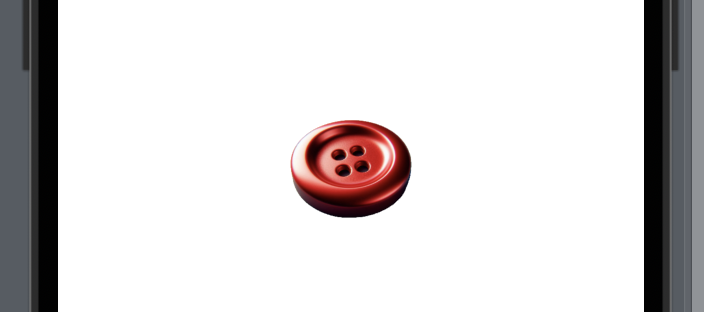
The image I provided produces this button, and in the same terminal as before, prints this new statement when pressed:
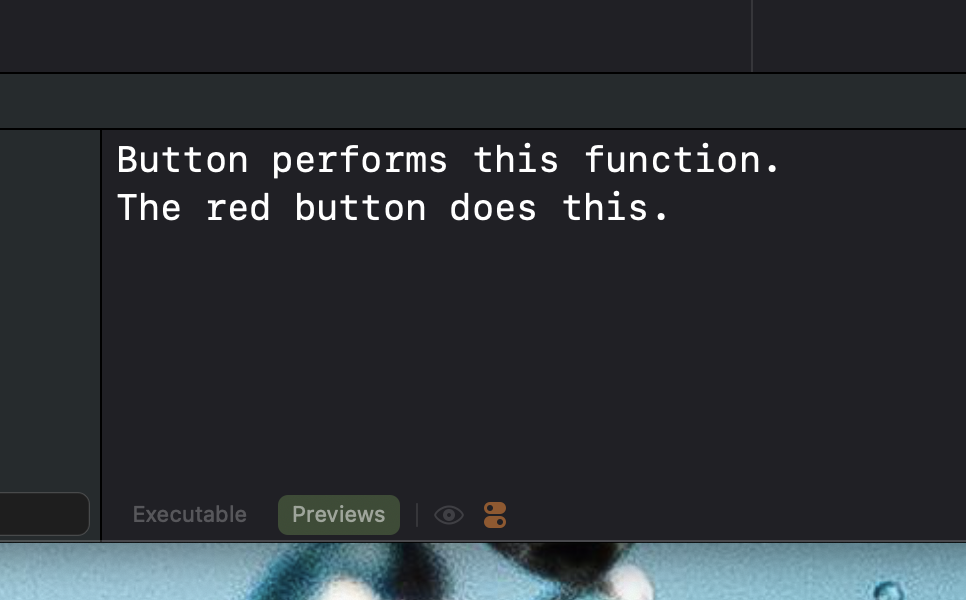
Perhaps the best use of this syntax is creating a custom button design and using it as the label. Let's use this purple button I define below
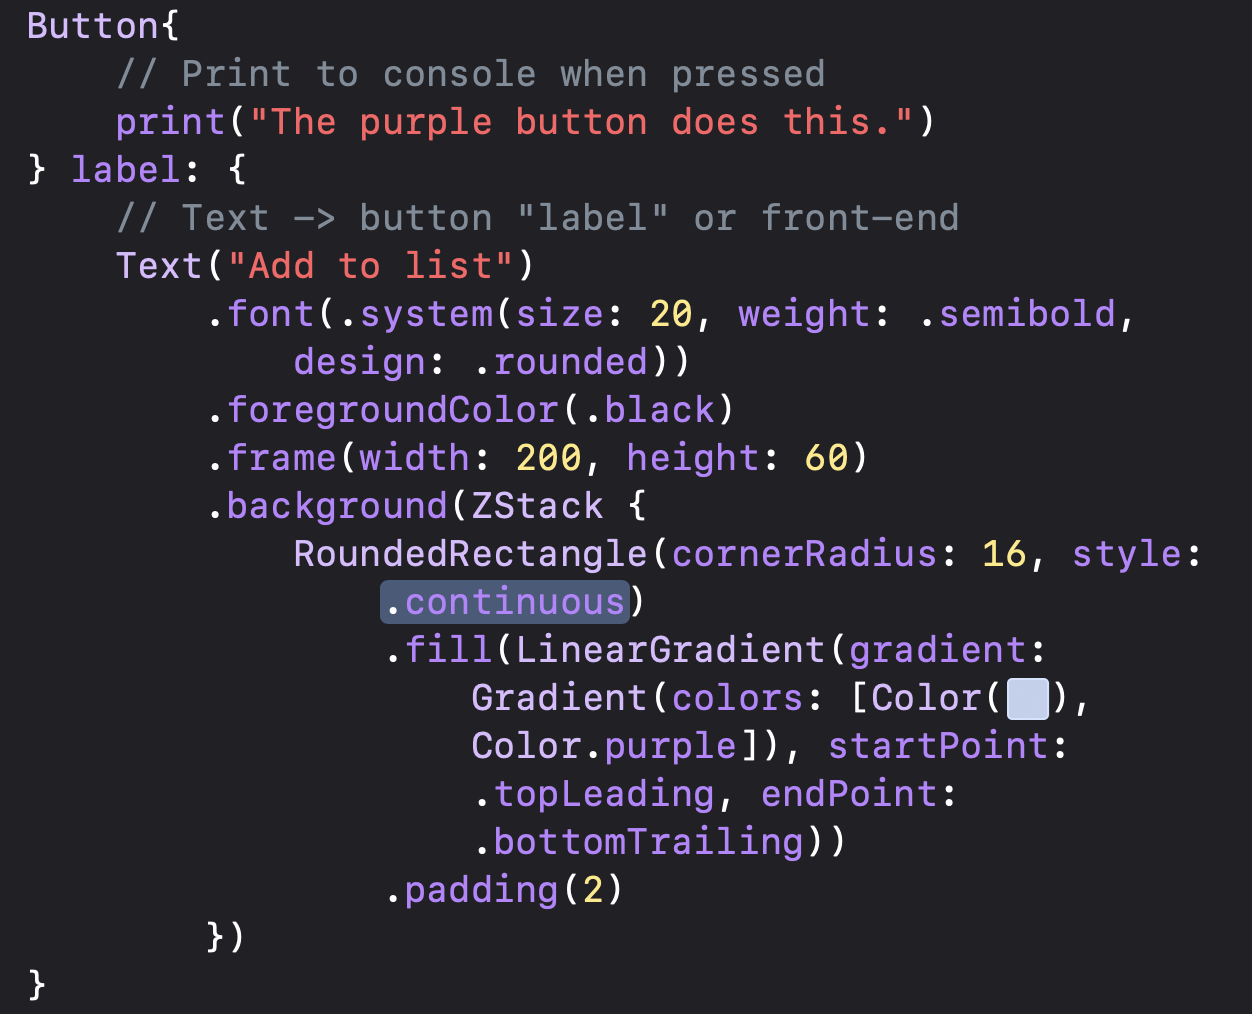
This code produces the following button and the following output:

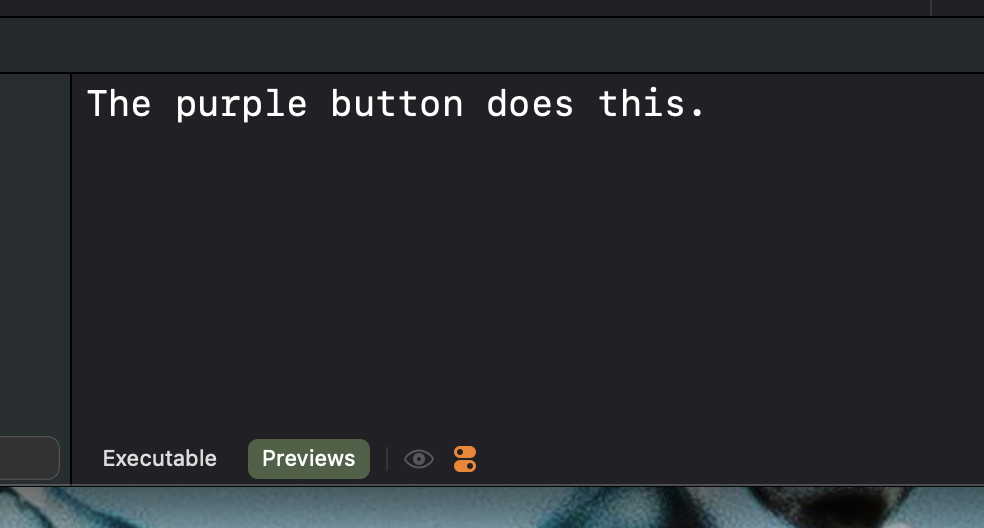
You can use these buttons to perform any function, stylize them however you want, and fit them into any app in any context.
Posted by Peter Menchu @ Saturn Science - Jun 28, 2024